Here’s How to Make Bokeh in Photoshop
- Date: January 28, 2022
- Topic: Photography
- Contributors: Written by Peerspace Staff

Source: Pixabay
If you want to make bokeh in Photoshop, you’ll need a few simple tricks up your sleeve. Bokeh is an important component of portrait photography, and you’ll find endless comparisons online regarding how different lenses create bokeh.
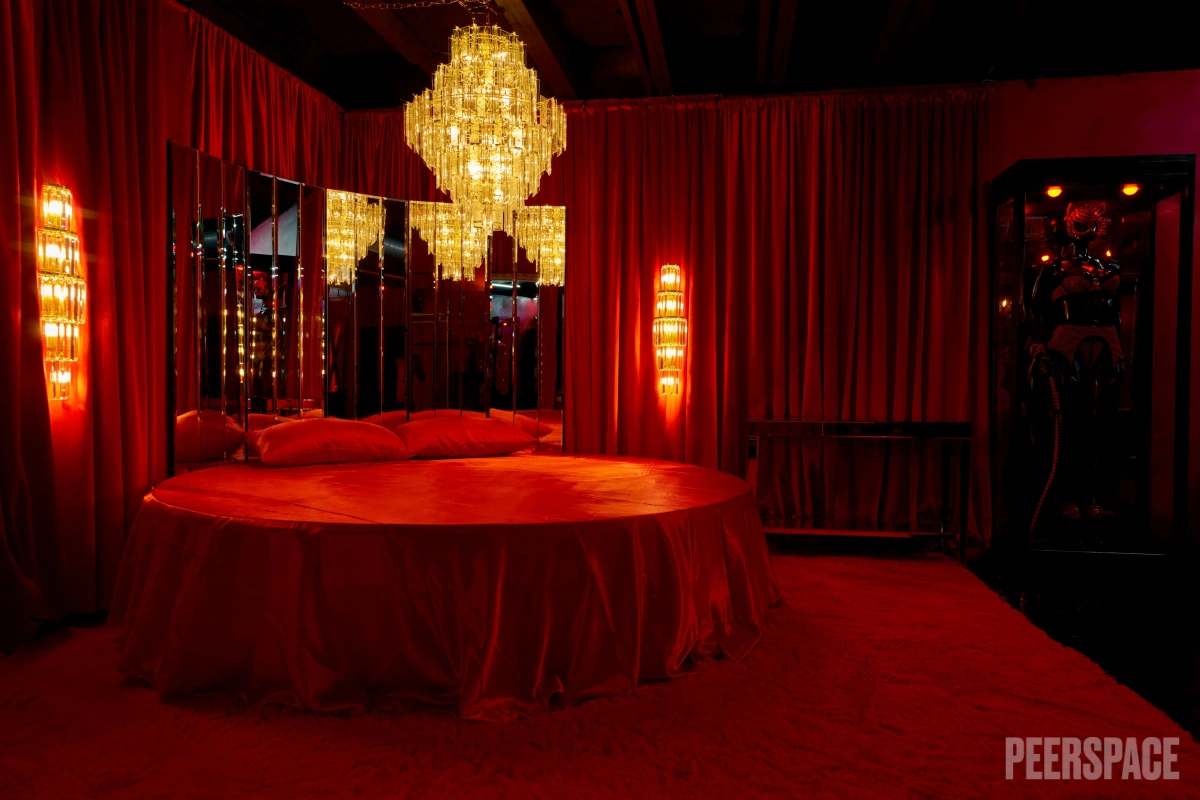
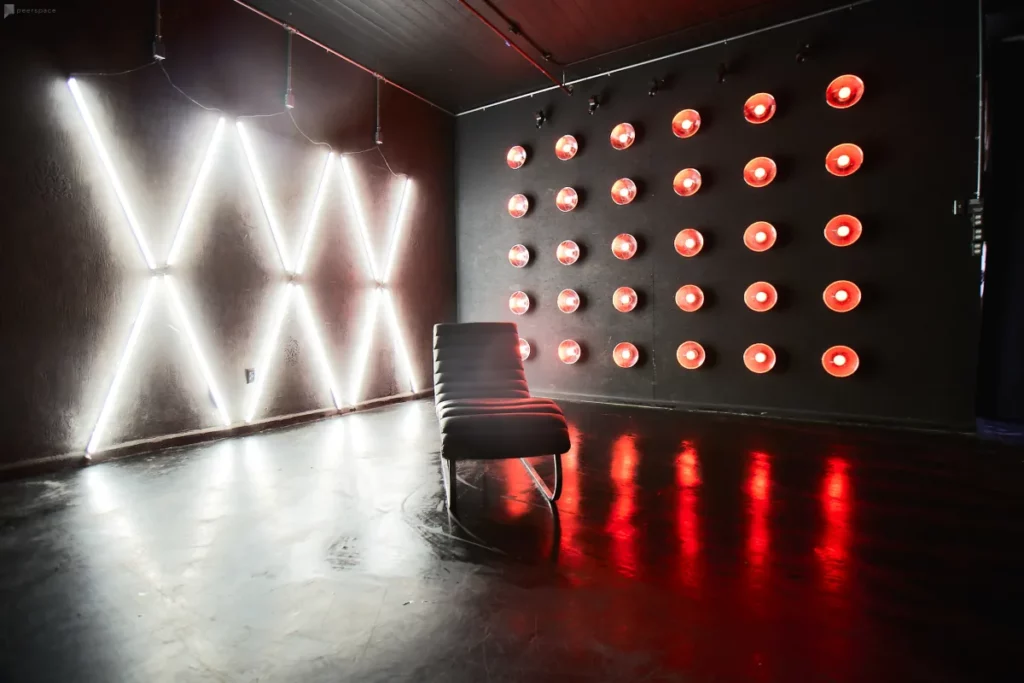
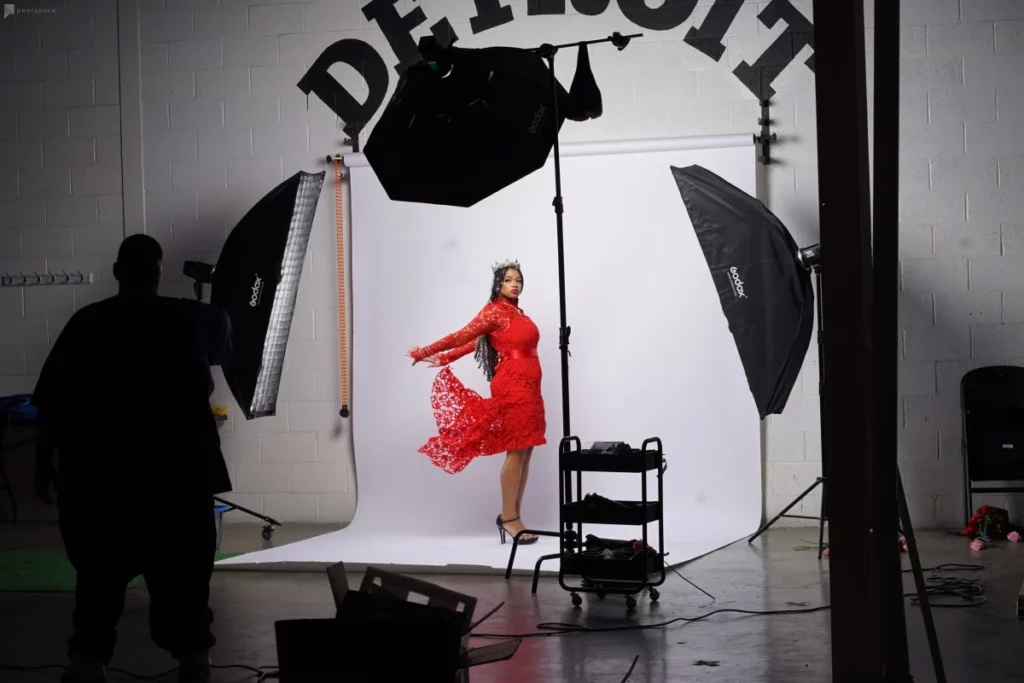
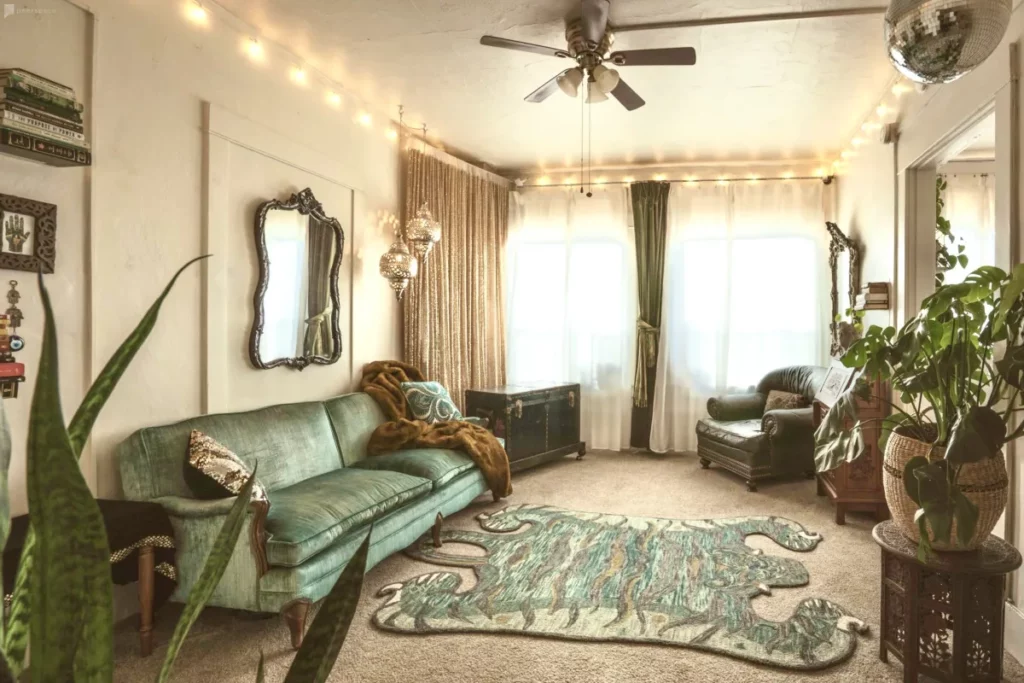
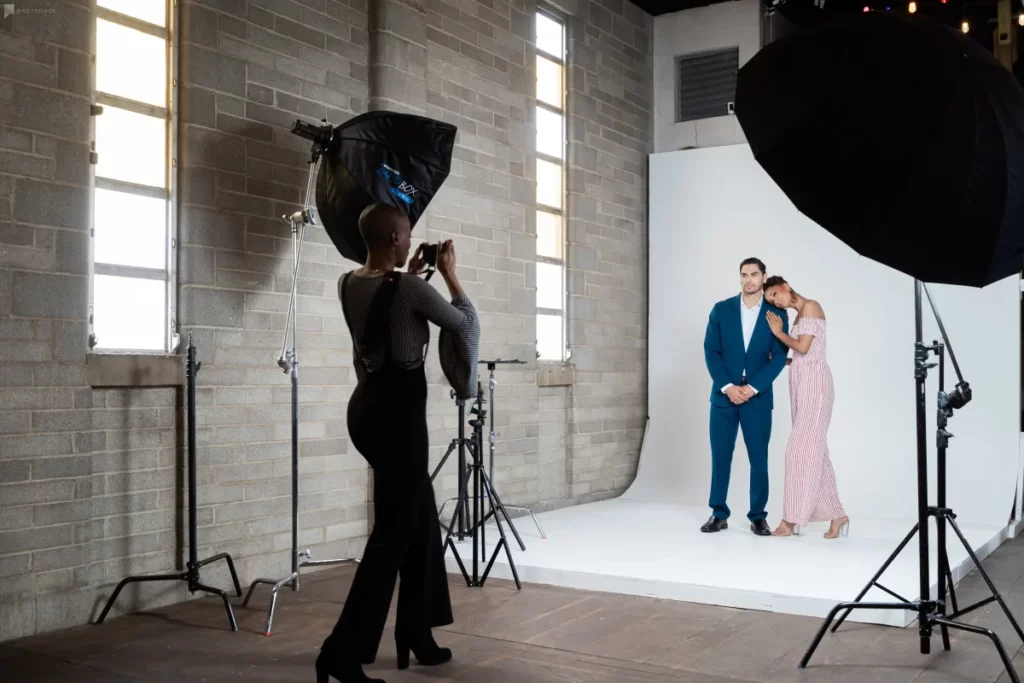
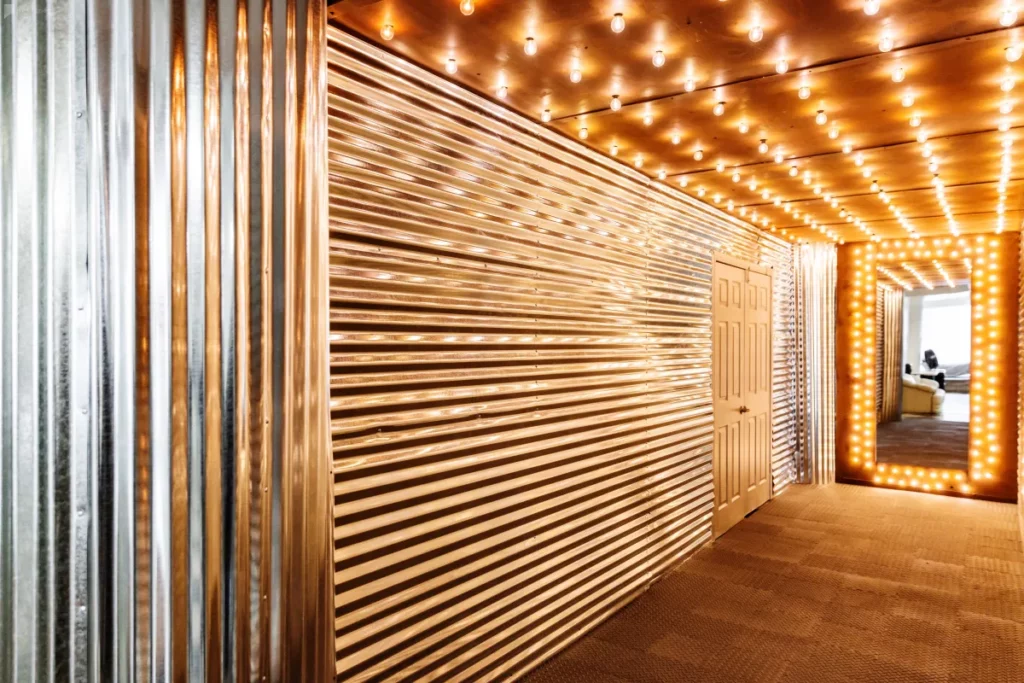
If you’re renting a venue through Peerspace, your host may have high-quality gear available for you to use. As the largest online marketplace for hourly venue rentals, Peerspace has thousands of professional photography studios and photographic space to rent. Ahead, we’ll share photos from real Peerspace locations along with our bokeh tips, just so you know what’s out there. No matter where you shoot, good-looking bokeh can always be faked in editing if you’ve got time and some Photoshop experience. Let’s break down how to make bokeh in Photoshop.
First, what is bokeh?

If you’re unaware, bokeh is the aesthetic quality of the shallow depth of field you get in a background when shooting on a lens with a wide-open aperture. An image with a shallow depth of field separates your subject from everything behind them, and bokeh refers specifically to the manner in which a lens renders elements in the shallow depth of field.
Everything blurs together and lights become tiny disks. It’s a great look for portraits that really emphasize the subject to make them stand out. Bokeh is most prominent in the highlights of your background.
To create in-camera bokeh, open your lens to its widest aperture — the wider the aperture, the more bokeh you’ll have in your images. The good news: this makes bokeh relatively easy to achieve. The bad news: you’ll get the best bokeh from expensive lenses.
If you’re shooting on a kit lens, chances are it’s a short zoom with an aperture between 3.5 and 5.6, depending on focal length. That lens will never be able to make the bokeh you get from a fast, 80mm f/1.4 portrait lens. Additionally, you may not even be shooting on a DSLR at this point, making in-camera bokeh very difficult to achieve.
Next, we’ll share two ways to make bokeh in Photoshop.
1. Create bokeh with selection and layers
When going over how to make bokeh in Photoshop, there are some things you need to consider about image selection. Before you begin, you’ll need to select an appropriate image. Unfortunately, this technique doesn’t work well for certain images.
You’ll need a photo with clear subjects — ideally, an image with a dark background and lots of small lights. With small lights in the background, you’ll get a more authentic-looking digital bokeh, as your image will brim with the light disks so often associated with the aesthetic. This will let you create the most genuine-looking bokeh in Photoshop.
Next, cut out the subject
The first thing you need to do is choose the quick select tool. This tool offers several advantages over other select tools, but it works best when there is already some separation of the subject from the background. This separation can be one of focus or contrast — ideally both.
Move the tool over your subject until you’ve got them completely selected, then copy the selection and select the layer drop-down menu. Choose a new layer from copy — then voilà, you have your subject on a separate layer.
Apply a blur effect to the background

From here, make sure your background is selected. From the filter drop-down menu, go to blur gallery and select field blur. Move the field blur slider until you’ve achieved the desired effect on the background. You’ll also see a slider for light bokeh — this is good to play around with if you have a background with a lot of small light sources. If you don’t have these in your background, light bokeh may blow out your highlights in an unattractive way.
Experiment to see if it looks good with your image or not. While doing this, manipulate the light range slider as well. Increase or decrease the field blur slide accordingly once you’ve made these adjustments — this whole process is a balancing act, so it could take some time to find the right setup for your image. Just be willing to experiment until you’re satisfied with its appearance.
2. Create bokeh using smart objects

If the above technique doesn’t work for your images, you may be wondering how to make bokeh in Photoshop using an alternative technique. Fortunately, you are in luck. You can also use field blur and smart objects to create a bokeh effect on an image.
These images don’t necessarily need to have a dark background, but some depth of field variance will make your final results look better. When you open your image in Photoshop, be sure to convert it to a smart object, so you can edit the image after effects get applied.
Open field blur and place pins

Go to the filter drop-down menu and select blur gallery, then field blur. If you used the first technique, this should bring up the set of additional sliders you saw earlier. When you move your cursor over an image, you’ll see it turn into a push pin. Place your first pin on the area of your subject that you want to remain in focus. You can drop as many pins as you want around your subject to choose what’s blurred and what isn’t.
Adjust the blur and light bokeh sliders
Just like before, manipulate the sliders in the field blur menu until you’re satisfied with the way the background looks. You may need to place additional pins or change the location of some pins you’ve already placed. Continue experimenting, and you’ll find the perfect balance between blur, light bokeh, and pin location.
Fine-tune with brushes

Since your background is a smart object, you can edit it further using brushes. When you select the brush tool, choose a soft round brush, then set your foreground to black. You can now use the brush to cover areas where you want to remove the blur effect. This helps you clean up the initial results if they were imperfect. In addition, you can enhance certain parts of the subject and create a more striking contrast between in-focus and out-of-focus areas.
How Peerspace supports your artistic vision
As the world’s largest digital platform for creative space rentals, Peerspace makes it easy for your to access one-of-a-kind spaces by the hour. As a photographer, you can just imagine how valuable that can be to your craft.
First, click the link above and enter your location. Your search will yield at least dozens of spaces near you perfect for photography. Click the listing of the spaces that stand out to you and check out their high-res photos, detailed description, upfront pricing, and genuine reviews from past guests. On the same listing page, you can see a full list of equipment a space has on hand. Many hosts also offer additional add-on equipment for you to use if you’re interested.
And let’s not forget, when you book a Peerspace, you can rely on the Concierge service. This dedicated team can source any extras you need, like photography equipment, and deliver it to you at your venue. It’s fast, it’s easy, and it’s fun!
Make bokeh in Photoshop: conclusion
When considering how to make bokeh in Photoshop, these two techniques are the easiest approach. Neither is an exact replacement for having a shallow depth of field and high-quality bokeh created with your lens.
However, if you want to enhance your images and can’t afford the expensive lenses necessary to create good bokeh, this is a solid alternative. It takes a lot of practice to achieve these looks in Photoshop, but if you’re willing to invest the time, you’ll soon have this technique mastered.
Be sure to try out these new techniques after shooting in a Peerspace venue of your choosing. We have stunning spaces in cities across North America and beyond, all of which are hosted by creatives like yourself. With thousands of spaces expertly designed that offer endless backdrops and lighting options, you may not even need Photoshop!
Find unique photoshoot locations on Peerspace
Get together somewhere better
Book thousands of unique spaces directly from local hosts.
Explore SpacesShare your space and start earning
Join thousands of hosts renting their space for meetings, events, and photo shoots.
List Your Space