Eye Photography: What to Know & How to Nail It
- Date: July 30, 2024
- Topic: Photography
- Contributors: Written by Peerspace Staff
Source: Unsplash
Answered
Photoshoot locations on Peerspace typically cost $40 — $160 per hour.
- The equipment you need to get started with macro photography
- Eye photography camera settings
- The best lighting settings for eye photography
- Strategies for when you shoot eye photography
- Where to go to sharpen your macro photography skills
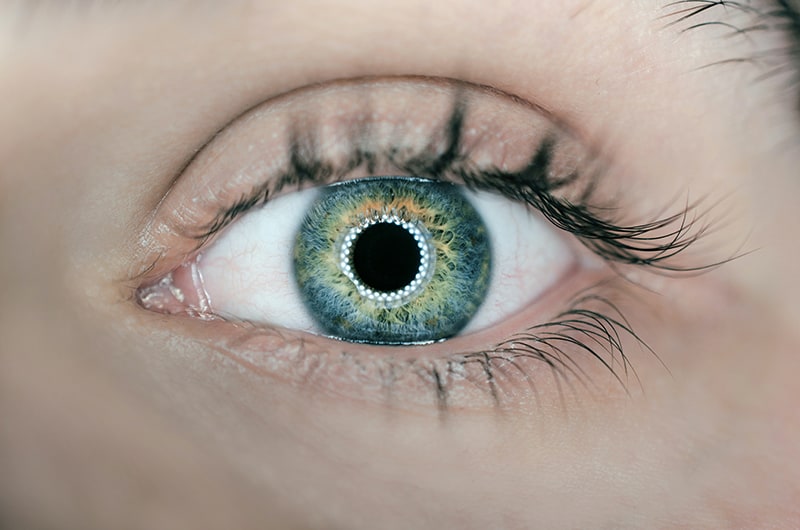
The eyes are the windows to the soul, the old saying goes. That reveals our timeless fascination with eyes—their colors, intricate patterns, expressiveness, and of course, beauty. Close-up eye photography is a fascinating and rewarding exercise, and as you may know from experience, nailing it can be quite a challenge!
Photographing the eye up close is also a macro photography activity. As the extreme close-up photography specialty, macro photography will require some extra equipment typically considered beyond the basics. But, interestingly enough, not that much more, and it isn’t that expensive to get adequately equipped and get going.
Ahead, we’ll discuss the equipment you need for macro photography so you can nail your eye photography shots like the pro you are. We’ll also discuss camera settings, tips and tricks to get it right, and even booking unique photoshoot spaces to bring your creative projects to life. Let’s get to it!
The equipment you need to get started with macro photography
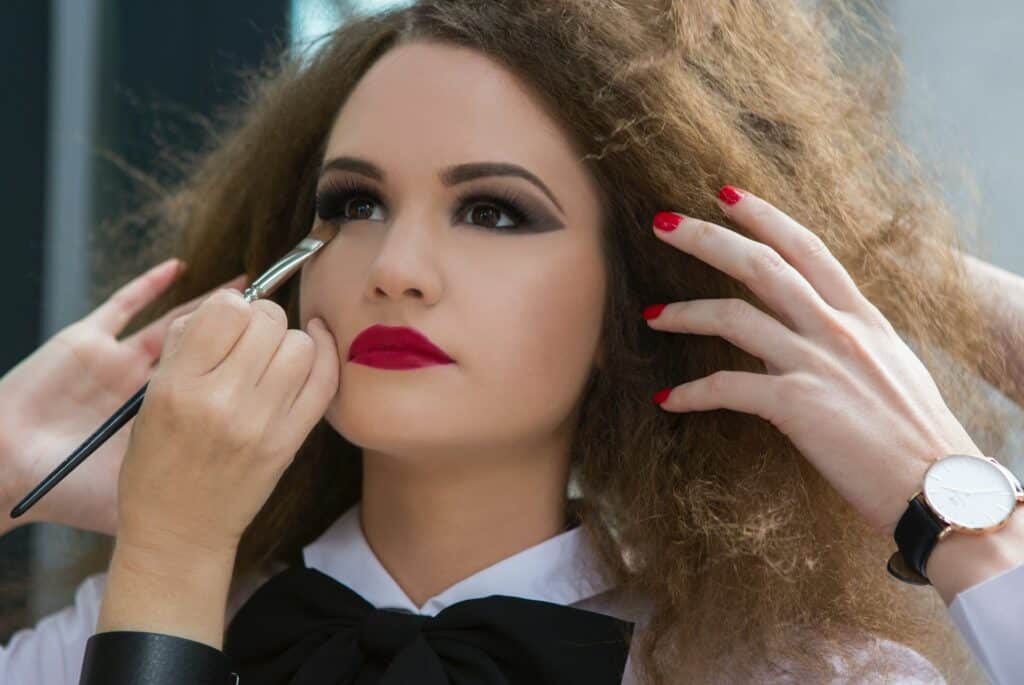
You’ll need what’s commonly referred to as a macro lens. These lenses will likely be labeled macro, or you’ll see “macro” listed among their features or specs. It’s designated as such for its technical ability to focus from infinity to 1:1 magnification.
Some lenses that say they’re “macro,” however, may only be able to achieve 1:3 or 1:2 magnification ratios, which means they can only get close enough to fill about a third or half of the total sensor size. A 1:1 lens (aka life-size), as indicated by its ratio, can get close enough to fill up the whole sensor.
This means that ideally, you’ll want a camera that works with interchangeable lenses, like a DSLR. It also has the added benefit of having a larger sensor. But don’t worry if you have a point-and-shoot with a fixed lens, or even a smartphone.
Third-party accessories are available that will allow you to increase your camera’s magnification capabilities. These simpler cameras may even have a built-in “macro mode” that does an adequate job of letting you take close-up photographs with pleasing results.
Whatever camera you have, though, you’ll absolutely want to have a tripod for close-up eye photography. Any kind of magnification tends to magnify both camera and subject movement, so getting really sharp images with a handheld camera is difficult; a tripod will keep that camera steady. As an added benefit, a tripod also makes it much easier to take naturally lit photographs.
To hedge your bets and eliminate the possibility of shake when you press the shutter, consider also getting a shutter cable or remote shutter. Alternatively, you can try using your camera’s timer to release the shutter without you physically pressing on and potentially shaking it.
The rest of this article will present a number of simple close-up eye photography tips and techniques for you to try that will help you capture impressive—if not outright spectacular—pictures with only a little bit of effort! Let’s start with technical settings: ISO, aperture, and shutter speed.
Learn everything you need to know about headshot photography here.
Eye photography camera settings
Now that you have the equipment you need to start your eye photography journey, we need to discuss camera settings. Here are some helpful tips:
Use an ISO Setting somewhere in the range of 100-800
Set it to the lowest ISO setting you can get away with, given the light conditions you have. The brighter your environment, the lower the ISO can go, and vice-versa. The major effect this has is the higher the ISO, the more sensitive it becomes to light and more suitable for lower-light situations, but it also increasingly produces more visual noise in the image.
That’s not much of a problem with regular photography, but with eye photography where you want exquisite and fine detail, the noise and tiny specks can ruin an otherwise superb shot. Take several test shots; see if you can find a good balance with ISO, aperture, and shutter speed to get the results you’re looking for within the conditions you’re shooting under.
Smaller apertures will likely work better
Macro photography tends to make your depth of field much shallower, making it more difficult to get truly sharp images if you use a large aperture, like f/1.4 and f/2. Using a smaller aperture, such as f/8 and f/11, increases the depth of field, giving you a higher likelihood of capturing a very sharply focused image.
The shutter speed isn’t as important
If you’re using a tripod (and you really should), your shutter speed isn’t as critical as ISO and aperture, but you’ll still want to make sure it’s set adequately as you fiddle with various settings. You’ll want to ensure it bottoms out at 1/60; anything slower, and you increase the likelihood of motion blur ruining your shot. Even if your tripod eliminates motion on the camera’s end, your subject is a living thing that can’t be completely still.
The best lighting settings for eye photography
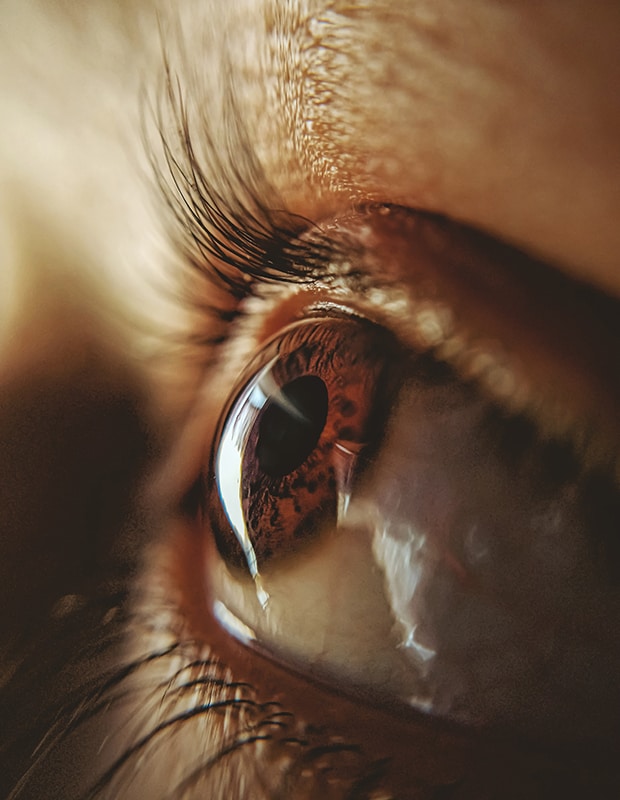
The type of lighting you use is always important when it comes to a photoshoot. But with eye photography, it can be extra crucial to follow a few key bits of advice, such as:
Plan the lighting carefully and conscientiously
With its somewhat minor and even non-existent role in close-up photography, backgrounds won’t likely be of much concern to you. Spend that time thinking about and analyzing your lighting. Aim for natural light photographs—have the model by a window—which will give you the best chance to capture natural skin tones and eye colors.
If the light’s too harsh, try diffusing and softening the incoming light with a very sheer white drape on the window. Also play around with using reflectors, like plain whiteboards, to bounce light onto the model to minimize any shadows and unbalanced darker areas.
Soften any indoor artificial lighting
If you have to use artificial lighting, such as at night, avoid using on-camera flash; the tripod will help with longer exposures that may work with weaker environmental lighting, like lamplight. You can try adding more lamps and moving them around to get the best workable lighting.
Pay close attention to how the light affects the colors you capture, particularly with the eyes. If need be, you can try using a strategically positioned external flash with a light diffuser attached to reduce harshness (add it to the equipment list if you want).
Check out our favorite night photoshoot ideas here.
Strategies for when you shoot eye photography
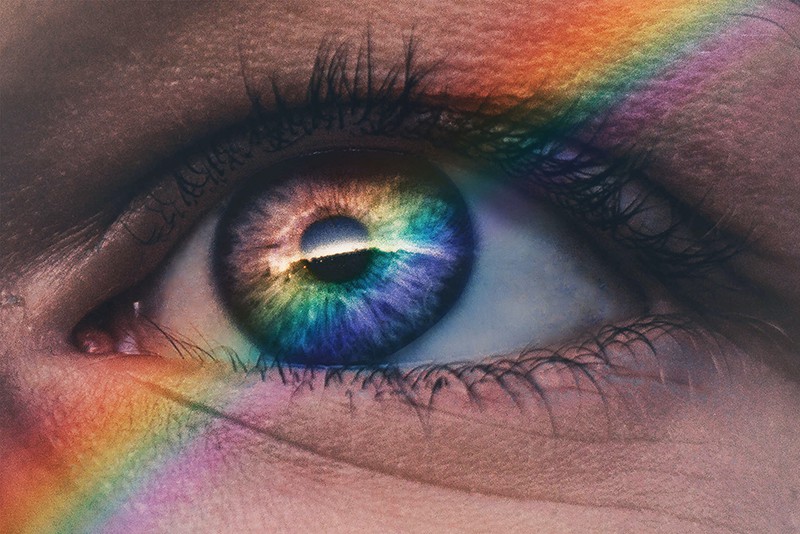
Here are some can’t-miss strategies to ensure your first eye photography shoot is as professional as possible:
Have the model focus on something
Direct them to not just stare blankly, Have them pick a spot to focus on it until they hear your shutter click. Curiously, the blank stare often comes through in resulting images, even though you can’t really pinpoint why. Similarly, a focused engaged look also usually comes through.
Experiment with a variety of angles
Move the camera around and take shots from various angles, left, right, top, and bottom. It’s interesting how the eyes’ appearance, and even its colors, can change, whether subtly or dramatically, from different angles.
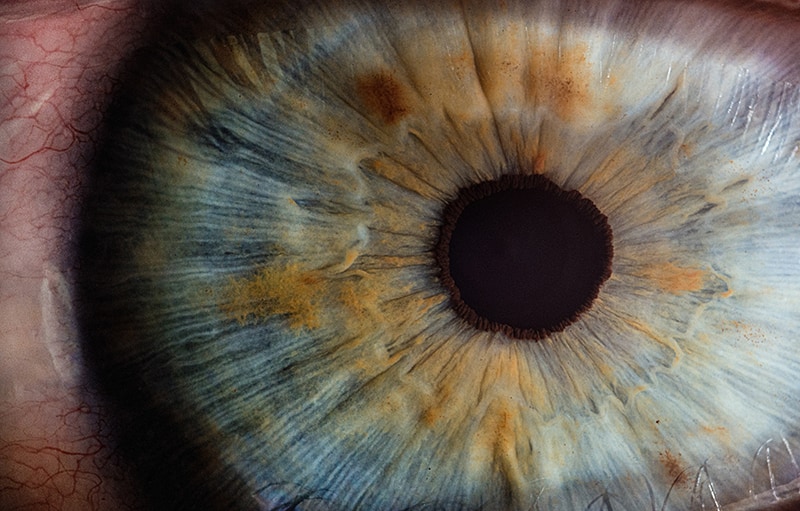
Try moving the model and adjusting their position and elevation relative to the light and camera as well. Sometimes you can even manage to see and capture very sharp image reflections on the model’s iris!
Get up as close to the eyes as you possibly can
To capture the most fascinating, mesmerizing eye detail in your images, you’ll need to get very close. It’s as simple as that. Since the distance between you and the model can get quite intimately close, you’ll want to make sure that you and your equipment don’t inadvertently block any light falling on your subject.
Where to go to sharpen your macro photography skills
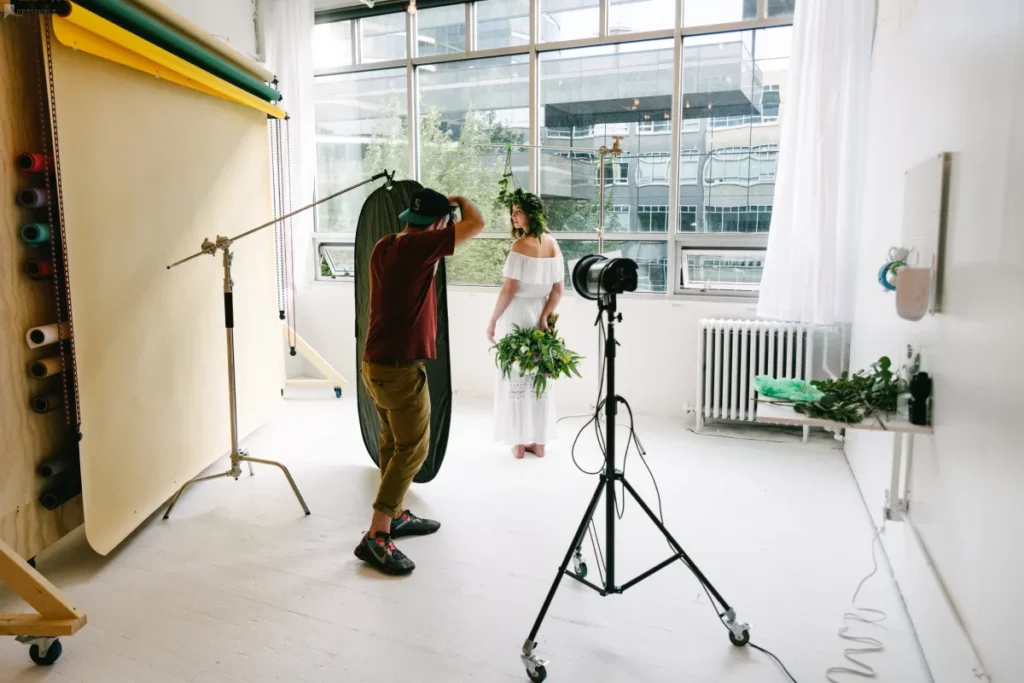
By now, you must be feeling pretty excited about grabbing your camera and practicing some eye photography. We’re glad to hear it!
As the largest online marketplace for hourly venue rentals, we at Peerspace can connect you with amazing photo studios and other photogenic spaces that help you achieve your creative vision. Peerspaces are hosted by locals who more often than not are also in creative fields, such as photographers who lend out their well-equipped studio spaces in their off hours, giving you to opportunity to network while you achieve your creative objectives.
With Peerspace, you can book fully equipped daylight studios in the heart of your city, boudoir studios with luxe furniture, classic portrait and headshot studios with natural light, and so much more.
Eye photography: conclusion
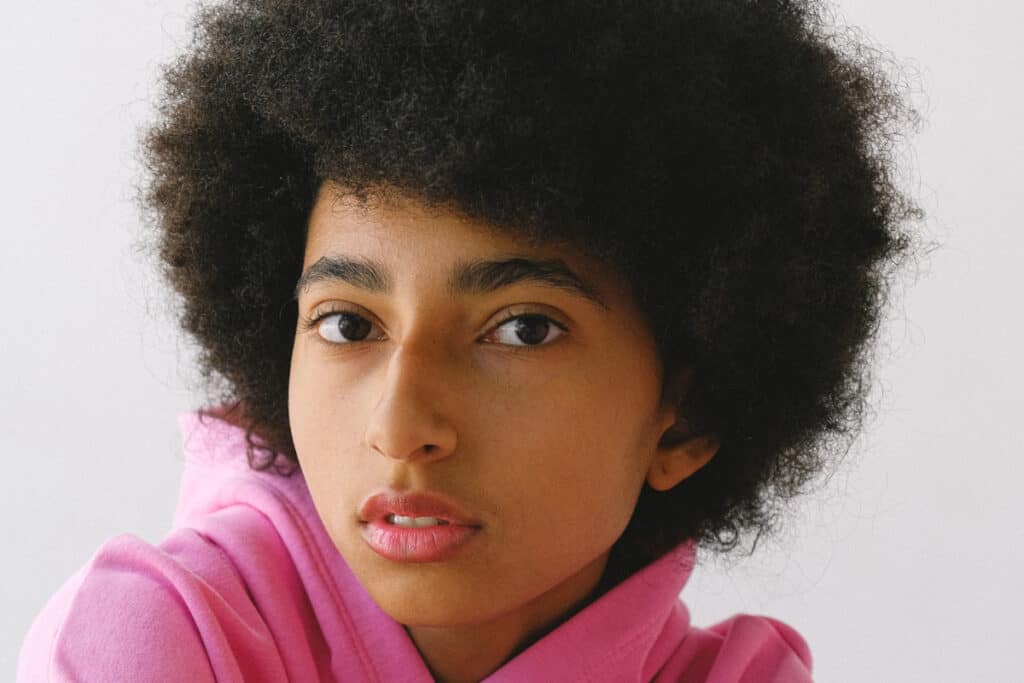
As you can see, the principles involved in taking good close-up eye photographs aren’t really complex or difficult to master, nor is the equipment required prohibitive. It wouldn’t be surprising if you already have most if not all of it! Go ahead and rent a photoshoot location on Peerspace and try it out. Remember to experiment a lot—the best way to learn what works—and most important of all, have fun!
Find unique photoshoot locations on Peerspace
Get together somewhere better
Book thousands of unique spaces directly from local hosts.
Explore SpacesShare your space and start earning
Join thousands of hosts renting their space for meetings, events, and photo shoots.
List Your Space
