Light Box Photography: What To Know & How To Nail It
- Date: November 10, 2021
- Topic: Photography
- Contributors: Written by Peerspace Staff

Source: Peerspace
A light box — also known as a white box or light tent — is an enclosure with translucent sides that provides a simple, solid environment for the object you’re photographing within it. Its purpose is to diffuse bright incoming light from multiple sources. It also helps easily control and/or minimize shadows. All that hints at what light box photography is all about for many: taking pictures of products. Below, we’ll discuss all the details of light box photography and how to nail it.
What’s the point of light box photography?
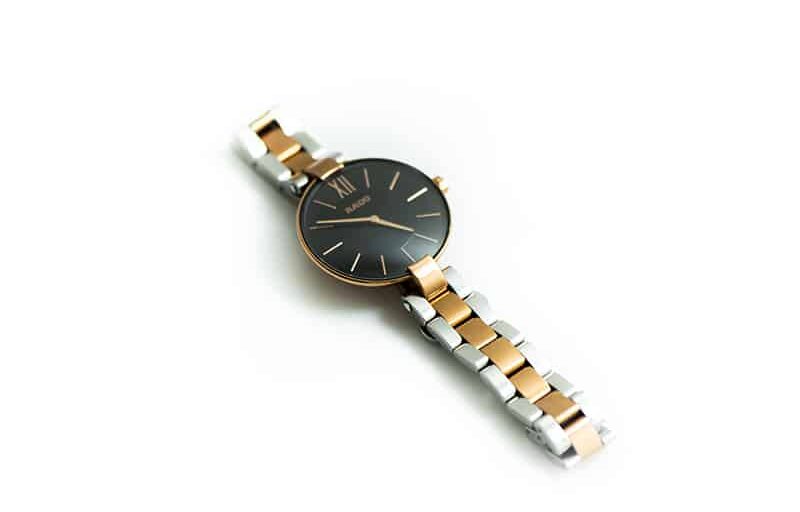
Like miniature studios for taking pictures of smaller items, light boxes are essential equipment for commercial product photographers. You’ve no doubt seen its capabilities in advertisements, catalogs, and all over the web. Besides product shots, light box photography is also well-suited for producing clean, distraction-free imagery of smaller objects, helping bring direct attention to the object itself.
Collectors, for instance, have found a lot of benefit from their use; many even admit they find themselves taking more pictures of the objects they collect now, including detailed close-ups, with the ease and convenience light boxes provide.
Light boxes aren’t all that expensive either. Yes, the top professional brands can get well into three figures in price, but you’ll find many typically selling at only the low to mid-two-figure range. Many are also sold as part of inexpensive kits with a good variety of the basic accessories you’ll need, saving you a lot of time and trouble.
Before you hit the shops, check out the list below for stuff you’ll ideally want to have to have for proper light box photography; you may already have a number of the items listed.
Equipment and accessories
You’ll need a light box, of course. They come in different sizes, from small to pretty darned large. Go with something just a tad bigger than what you think you will need. However, keep in mind you’ll need quite a bit more physical space around it than just the dimensions of the light box itself (for lamps, accessories, your camera equipment, etc.). Plan accordingly when making your acquisition. They also come in different designs, features, materials, and even shapes. We recommend that when you’re just starting out, go with the simplest highly-rated “box” you can find.
Lighting
You may need lighting and lamps. Some light boxes already come with their own lighting systems built-in or attached, usually light bars with LED bulbs. Some, however, do not, so you’ll need to buy them (three would be ideal). You’ll want bright, energy-efficient bulbs, compact fluorescent or LED, that are “full spectrum” and “daylight balanced.” Don’t, however, use both fluorescents and LEDs together; choose one or the other.
Backdrops
Solid-colored backdrops that basically go behind and beneath the object in the light box are also necessary. White is a staple that every photographer must have, and you can get other colors, too. Note that some light boxes will only work with the backdrops they provide, while others allow for any that fit their dimensions.
Cables
You may need USB cables or other power cables to juice up your lights. What you need will depend, of course, on what lights either come with the light box or you have acquired separately. Kits usually come with the necessary cables, but check their listings to make sure.
Lens
As for your photo equipment, you may a camera with a macro lens or at least one that can get you close enough to the object for a good, sharp picture. The macro is great if you want to get really close-up, magnified image, but it’s totally your call if it’s something you’ll be doing. Interestingly enough, many of the light boxes on the market work with smartphones!
Tripod
Whatever camera equipment you use, you’ll definitely want a tripod. Even if you’re using a smartphone. In fact, you’ll find that many of the light box kits being sold come with small tripods specifically designed for use with smartphones. Something to hold that camera of yours steady is definitely a must-have.
Shutter release
Optionally, you may want to have a shutter-release cable or remote shutter. It prevents camera shake, but you’ll also find it convenient and less taxing to use one instead of being constantly hunched over your camera. Alternatively, you can try using your camera’s timer to release the shutter without you physically pressing the shutter (keep in mind that this is more physically taxing than just manually pressing the shutter, however).
Positioning your lights

If your light box comes with built-in lighting, you don’t need to worry about this, unless you find the results unsatisfactory.
With manual light set up, generally, you’ll want a light on the left side of the box, and one on the right. How you position and angle those lights will depend on the object you’re photographing itself, and how the light positions and angles will produce shadows on, beneath, and behind the object.
Having shadows isn’t really a bad thing, depending on the look you’re going for. Shadows actually give the object a visual 3D effect, usually even more so with heavier shadows. You’ll want to play with the light positions and angles to give you the results you’re looking for.
The third light is for when you want to really minimize shadows; position and angle it from the top of the box. Try shots without this third light first, and only put it into play if the object you’re photographing really needs it for whatever reason (its shape, texture, etc.). Note that the use of the third light will tend to really brighten the image, including the backdrop (which often whitens), so pay close attention whenever you use a third light.
Camera settings

Since this isn’t flash photography, and you’re using a tripod for stability, get the exposure reading from your camera. However, you may find that the reading will result in images that are a bit too dark, even with the bright light box. This is easy enough to fix: use your camera’s exposure compensation feature, the dial, or buttons with the (+) or (-) symbols. Just press (+) once, or twice if needed.
Getting the best color results may get tricky with the lights you’re using. If you want to see if you can get the colors even better, turn off the camera’s use of the AWB (auto white balance) feature if it has it. Your camera may have White Balance settings that match the type of bulbs you have (fluorescent or LED), so just select the one that matches what you have.
Start taking pictures!
One final tip: The light box you acquire may actually come with some printed tips and suggestions on how best to use their product and its features. If so, definitely read through and try them out, especially if the light box has some special or unique features, and particularly if it comes with built-in lighting. Truly knowing and understanding the equipment you use often does make a big difference.
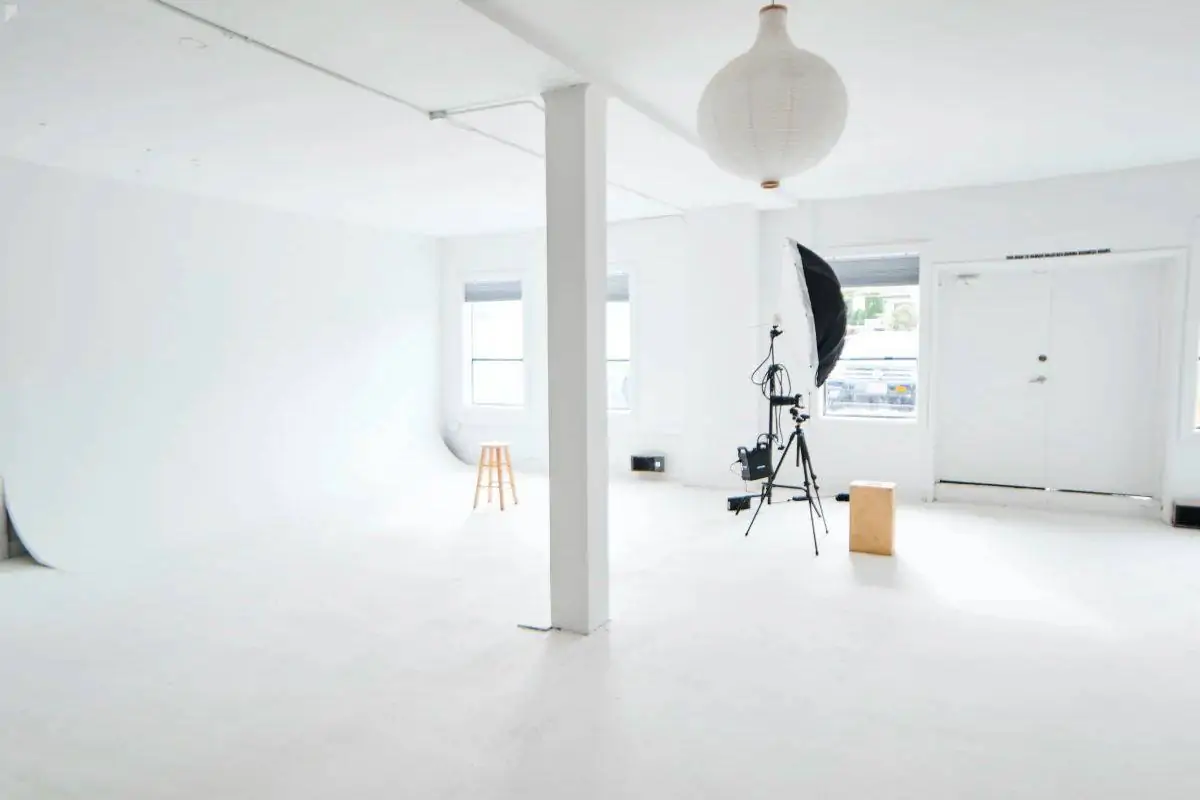
And if you’re looking for new shooting spaces to practice light box photography, check out Peerspace. We’re home to thousands of professional photography studios and other photogenic spaces available to rent hourly, in locations across the globe. Expand your horizons and have fun!
Find unique photoshoot locations on Peerspace
Get together somewhere better
Book thousands of unique spaces directly from local hosts.
Explore SpacesShare your space and start earning
Join thousands of hosts renting their space for meetings, events, and photo shoots.
List Your Space